
A surface inspection method that finds surface-breaking cracks, porosity and laps in non-porous materials — a coloured dye is drawn into the flaw, then pulled back out to form a visible indication. Here’s what it is, why it’s used, and how it’s done.
Exact dwell times and acceptance criteria come from the applicable code / procedure.
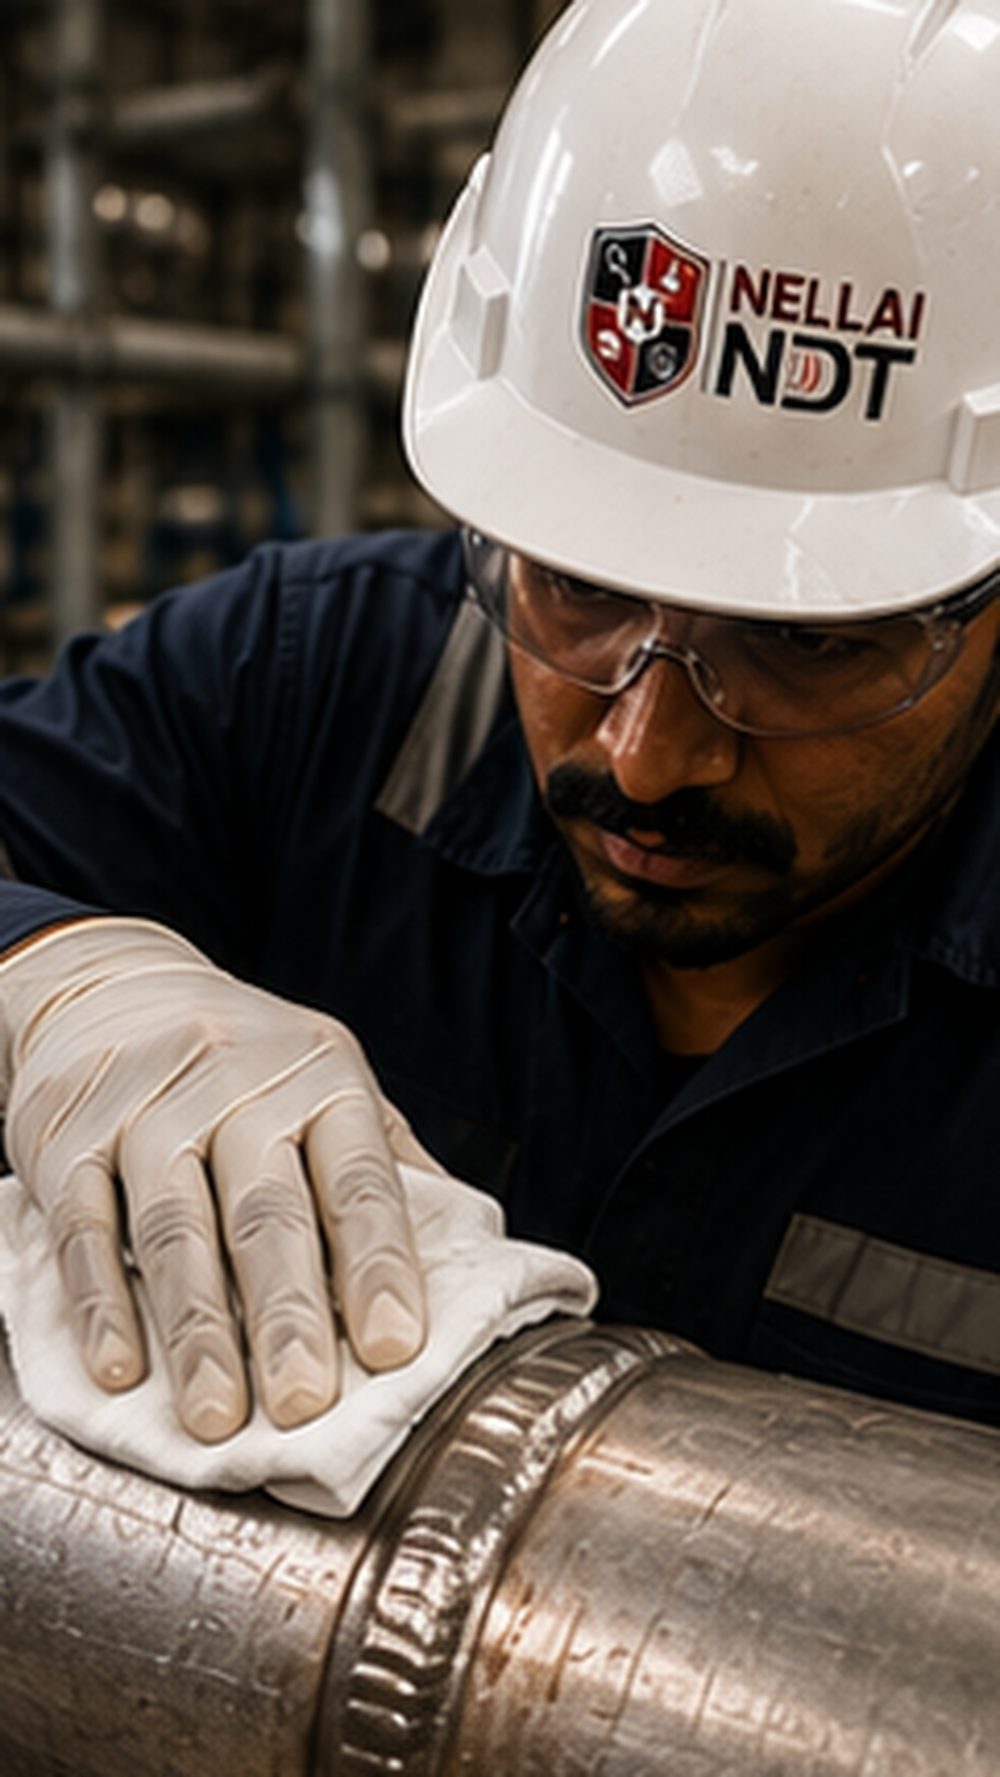
Pre-clean the test area — remove dirt, oil, grease, scale and paint, then dry it — so the penetrant can enter any surface-breaking defect.
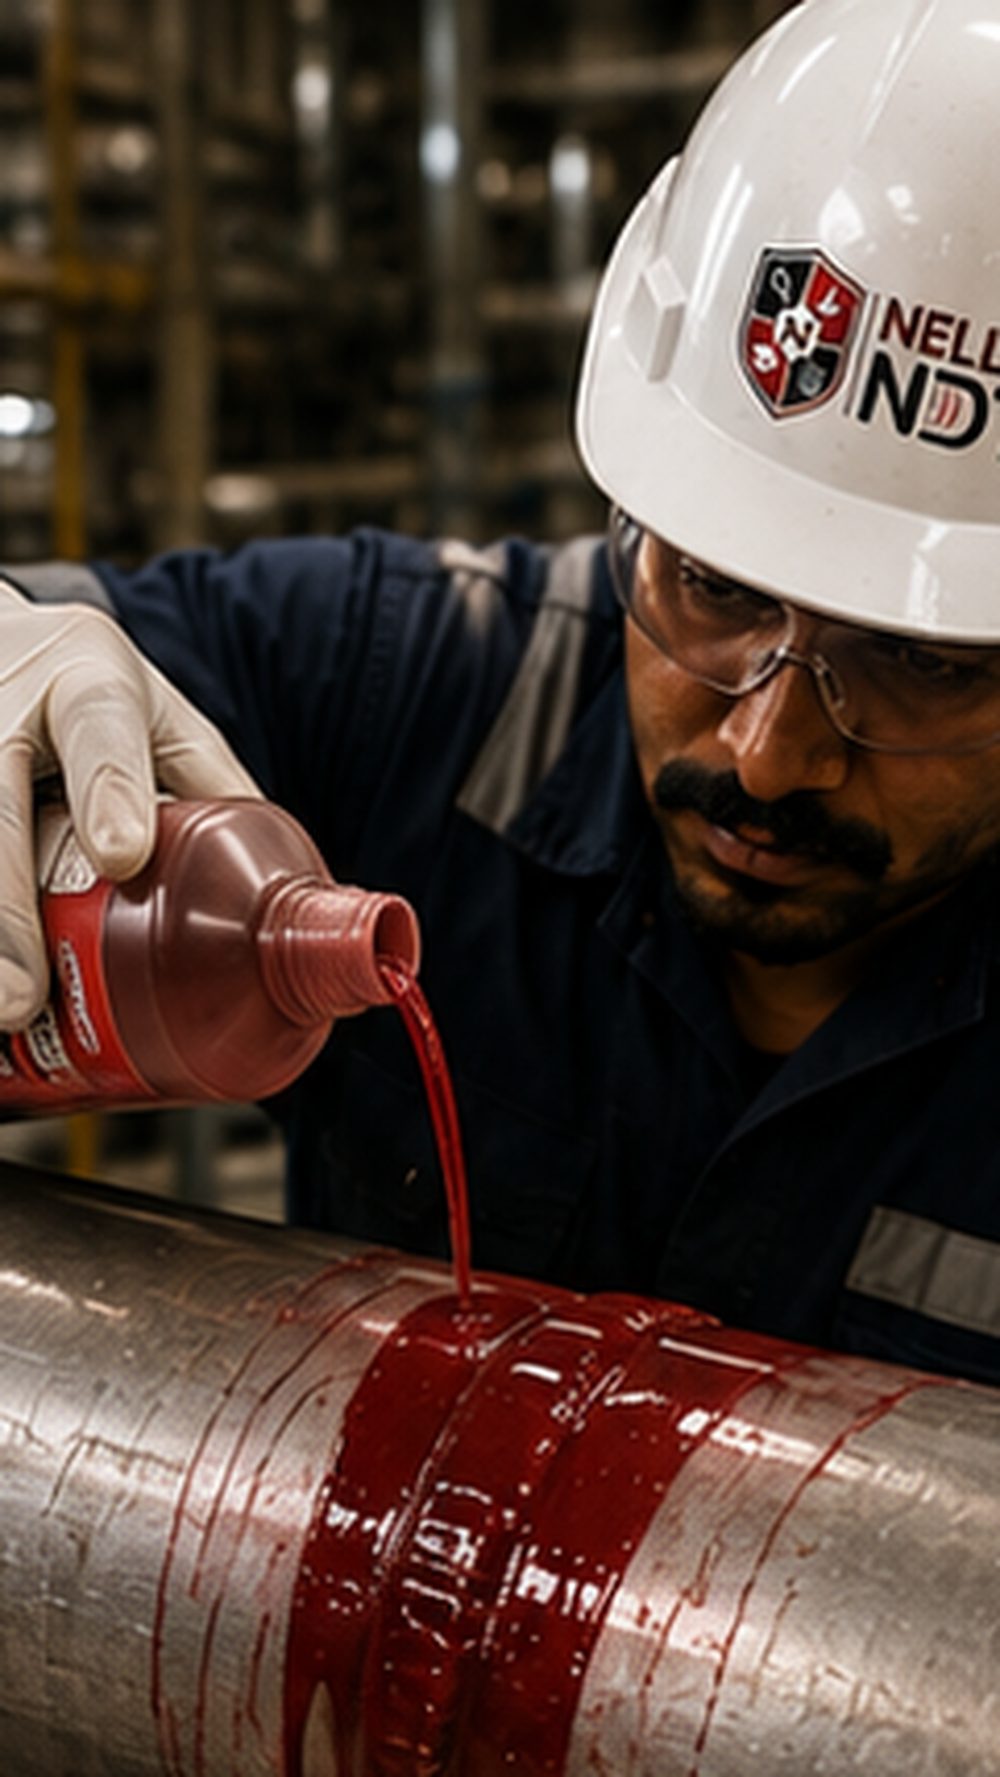
Apply the liquid dye penetrant evenly over the whole test area, fully wetting the surface.
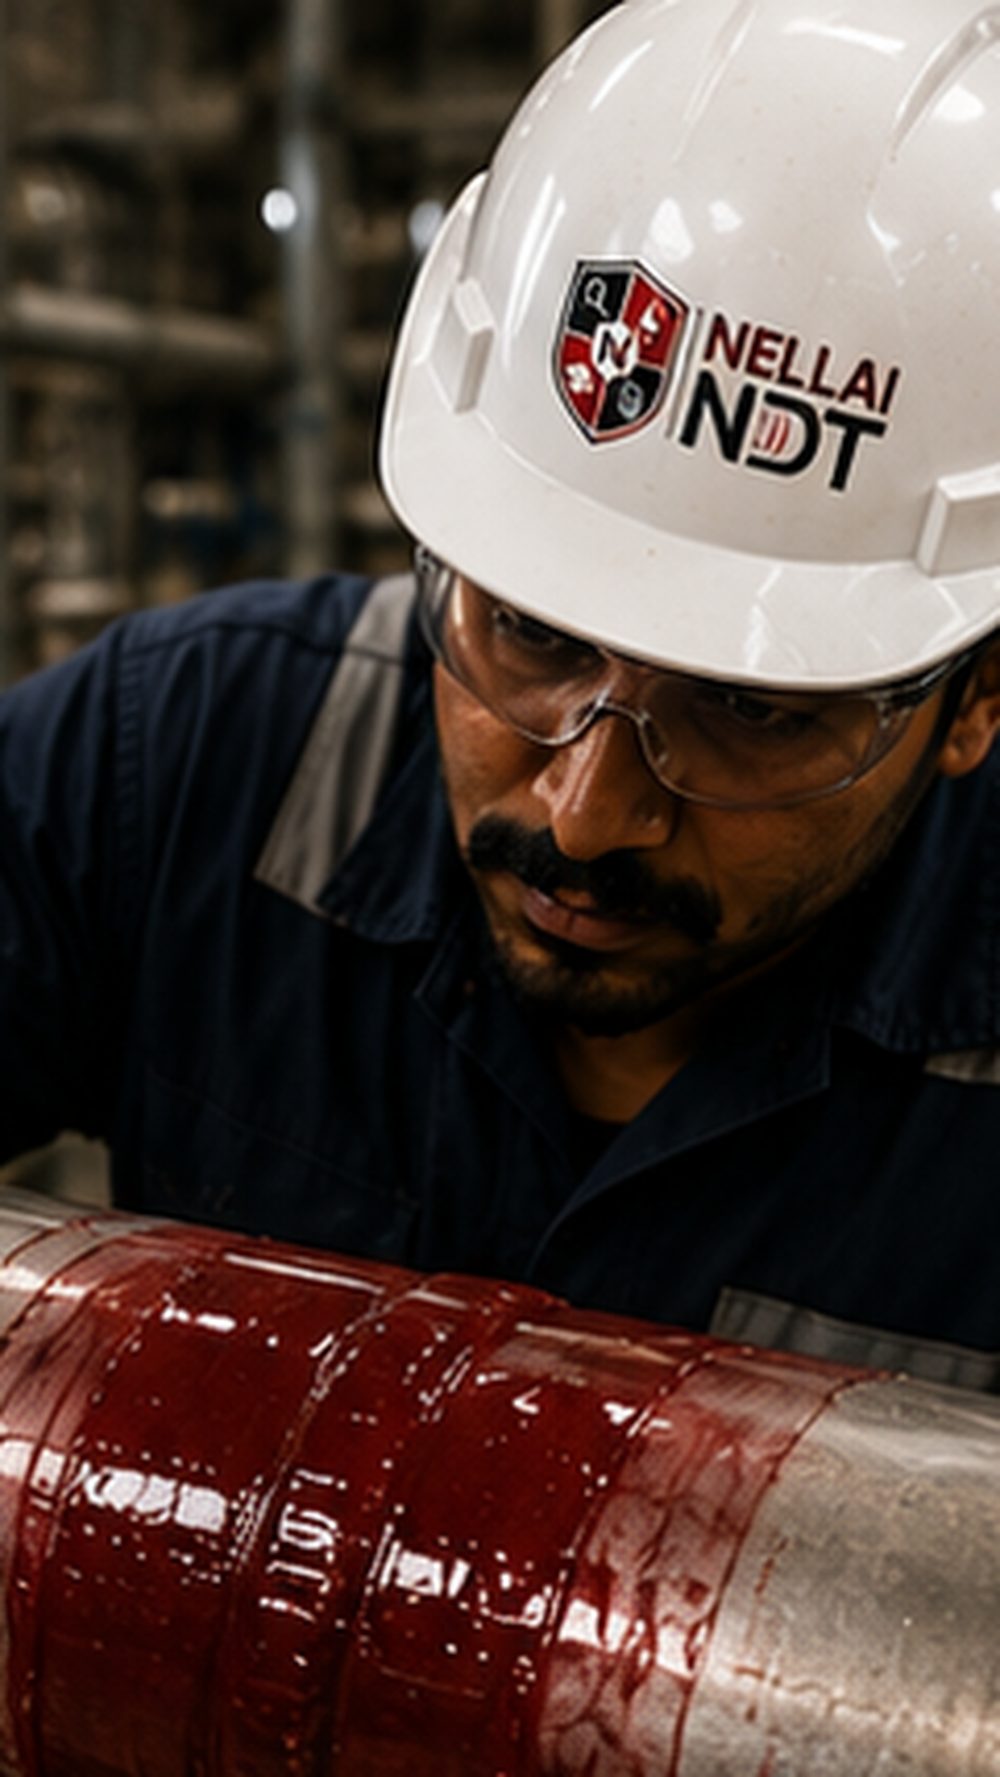
Leave the penetrant to dwell (typically 5–30 minutes, to the procedure) so capillary action draws it deep into any surface-breaking flaw.
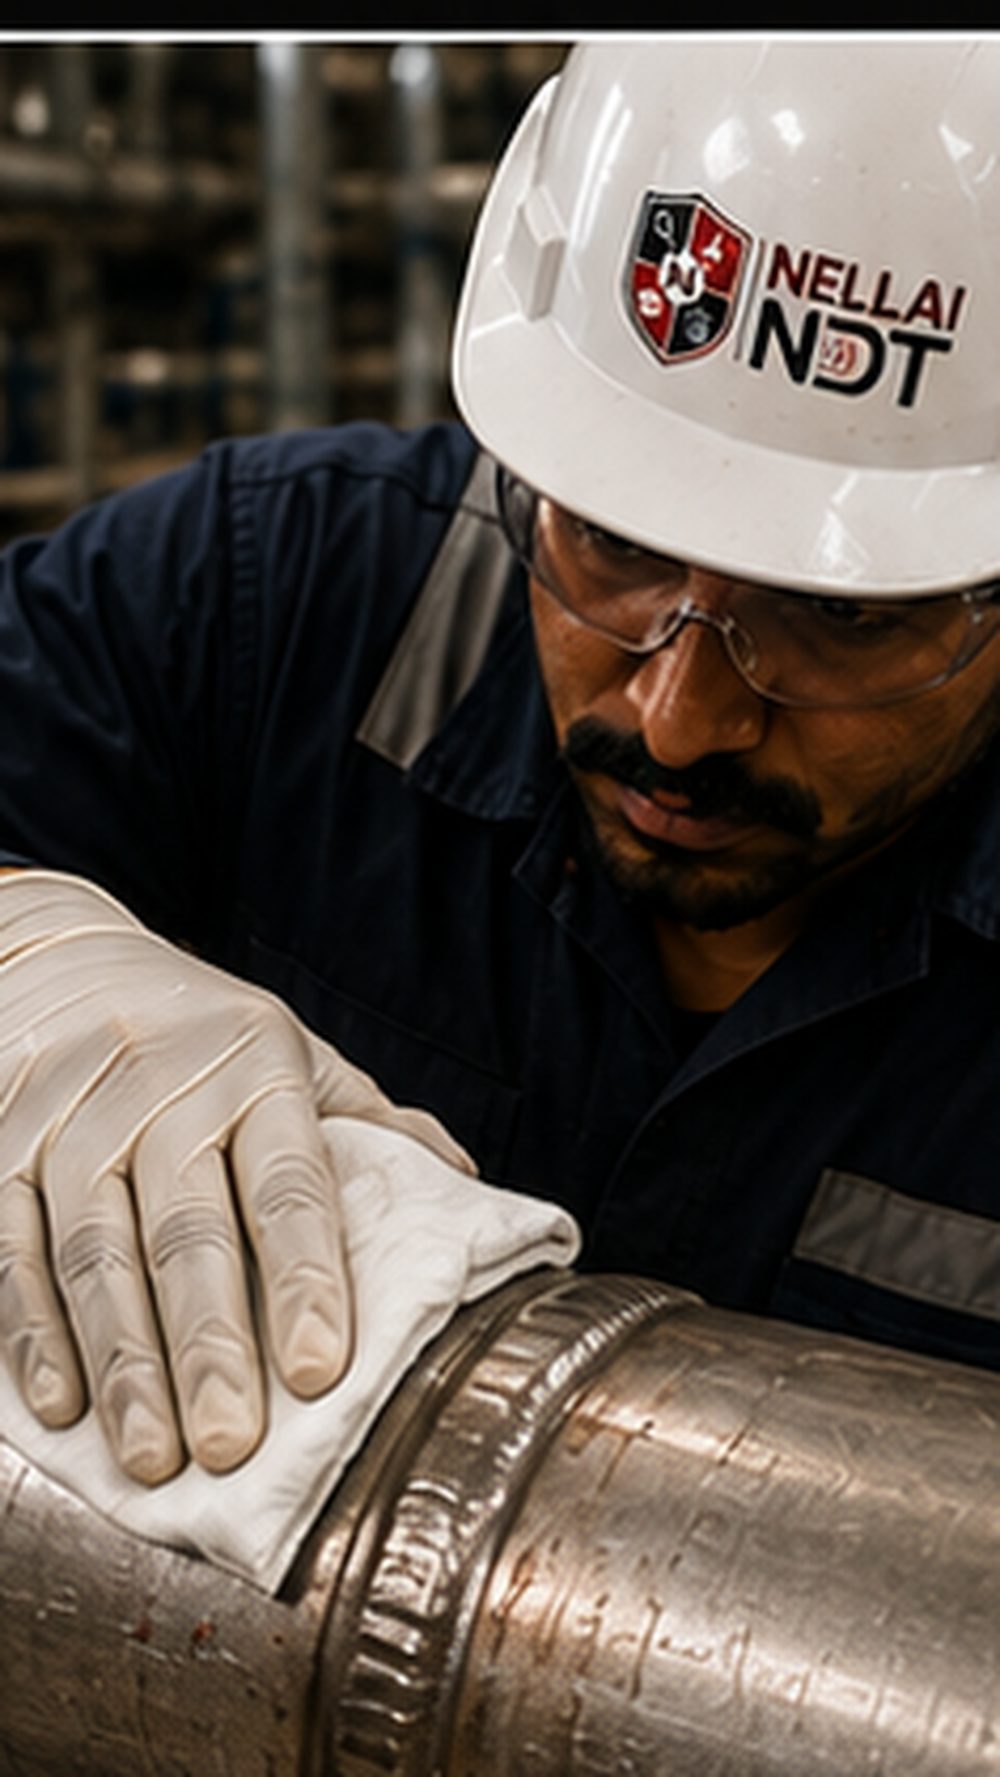
Wipe the surface penetrant away with a solvent-dampened cloth — never flood it — leaving penetrant only inside the defects.
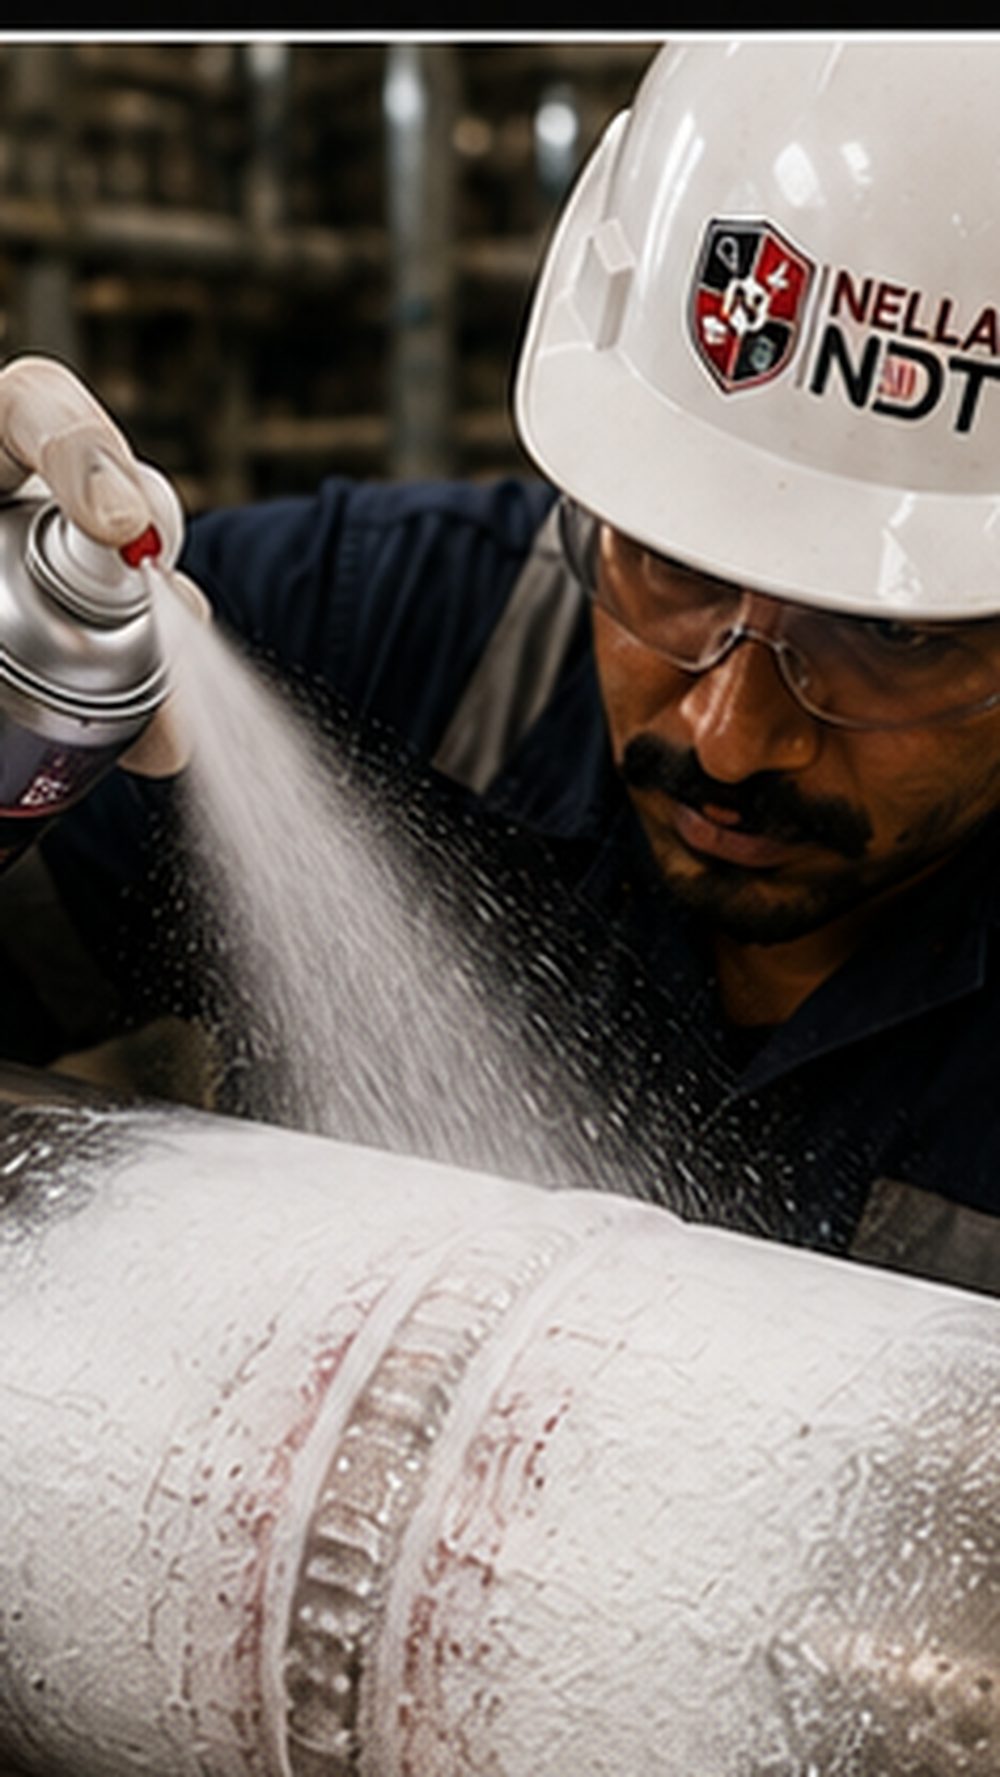
Spray a thin, even coat of developer over the area. The white developer draws the trapped penetrant back out by reverse capillary action.
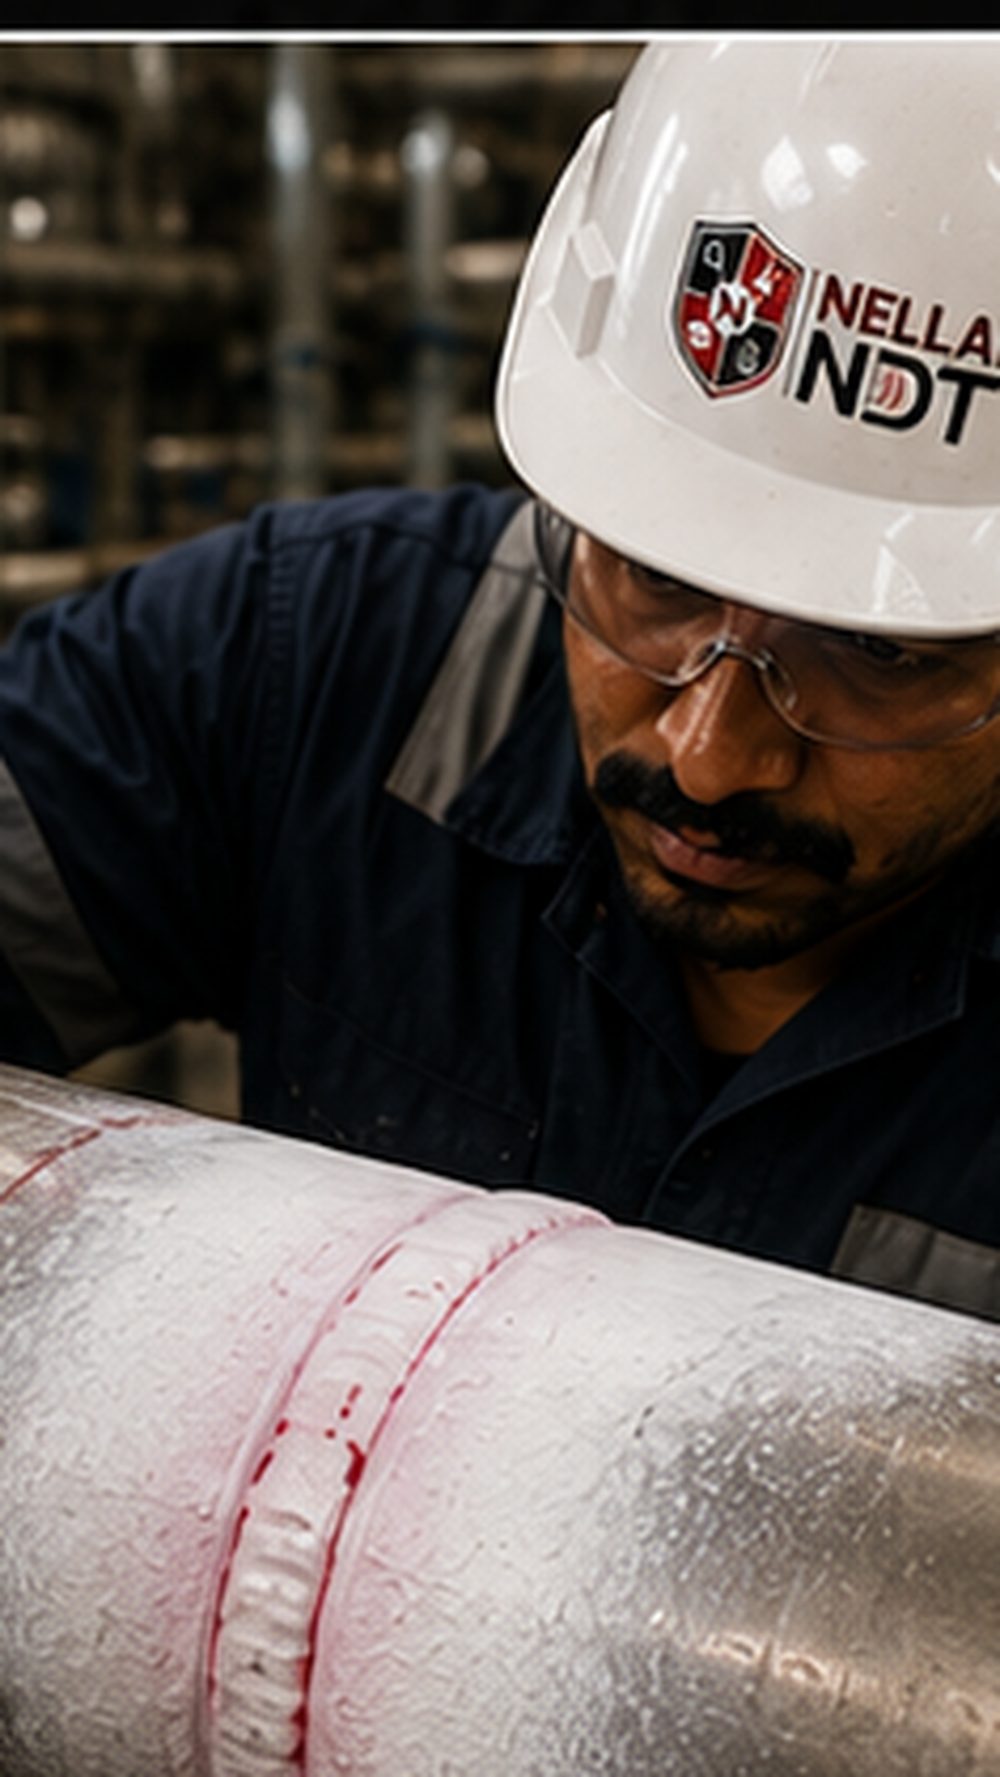
Penetrant bleeds out into the developer and forms a clear red indication wherever there is a surface-breaking defect. Allow the developer dwell time.
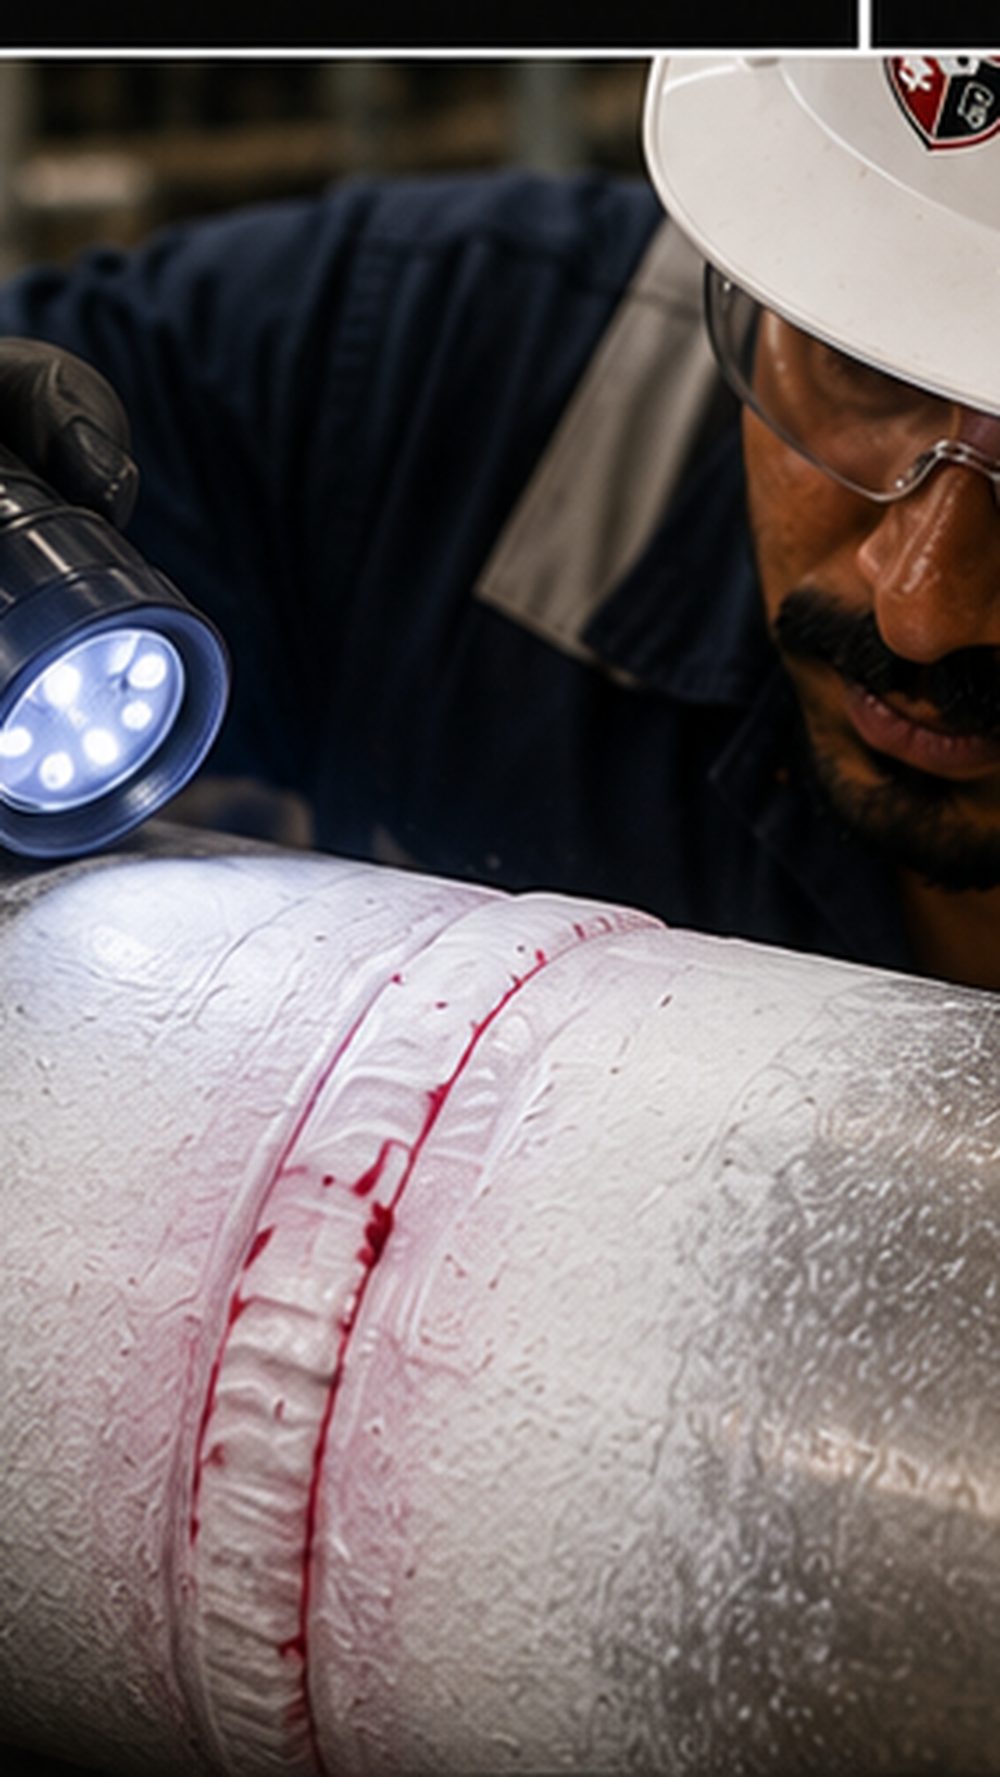
Inspect under good lighting, evaluate every indication against the acceptance criteria, record the results — then post-clean the part.